Tuesday, March 31, 2015

Cake and Cookies


 How perfect are those little bites? One for you, and one for me! 
 Guess who ate that bite after she took this amazing shot? 
A woman can live on chocolate and fruit alone. 
A bountiful dessert table is a happy table.
 A day full of baking is my kind of happiness. 
This just makes me want to throw my hands up towards the heavens and shout "Yes, the Lord is good because we have dessert like this!" 

Wednesday, March 25, 2015

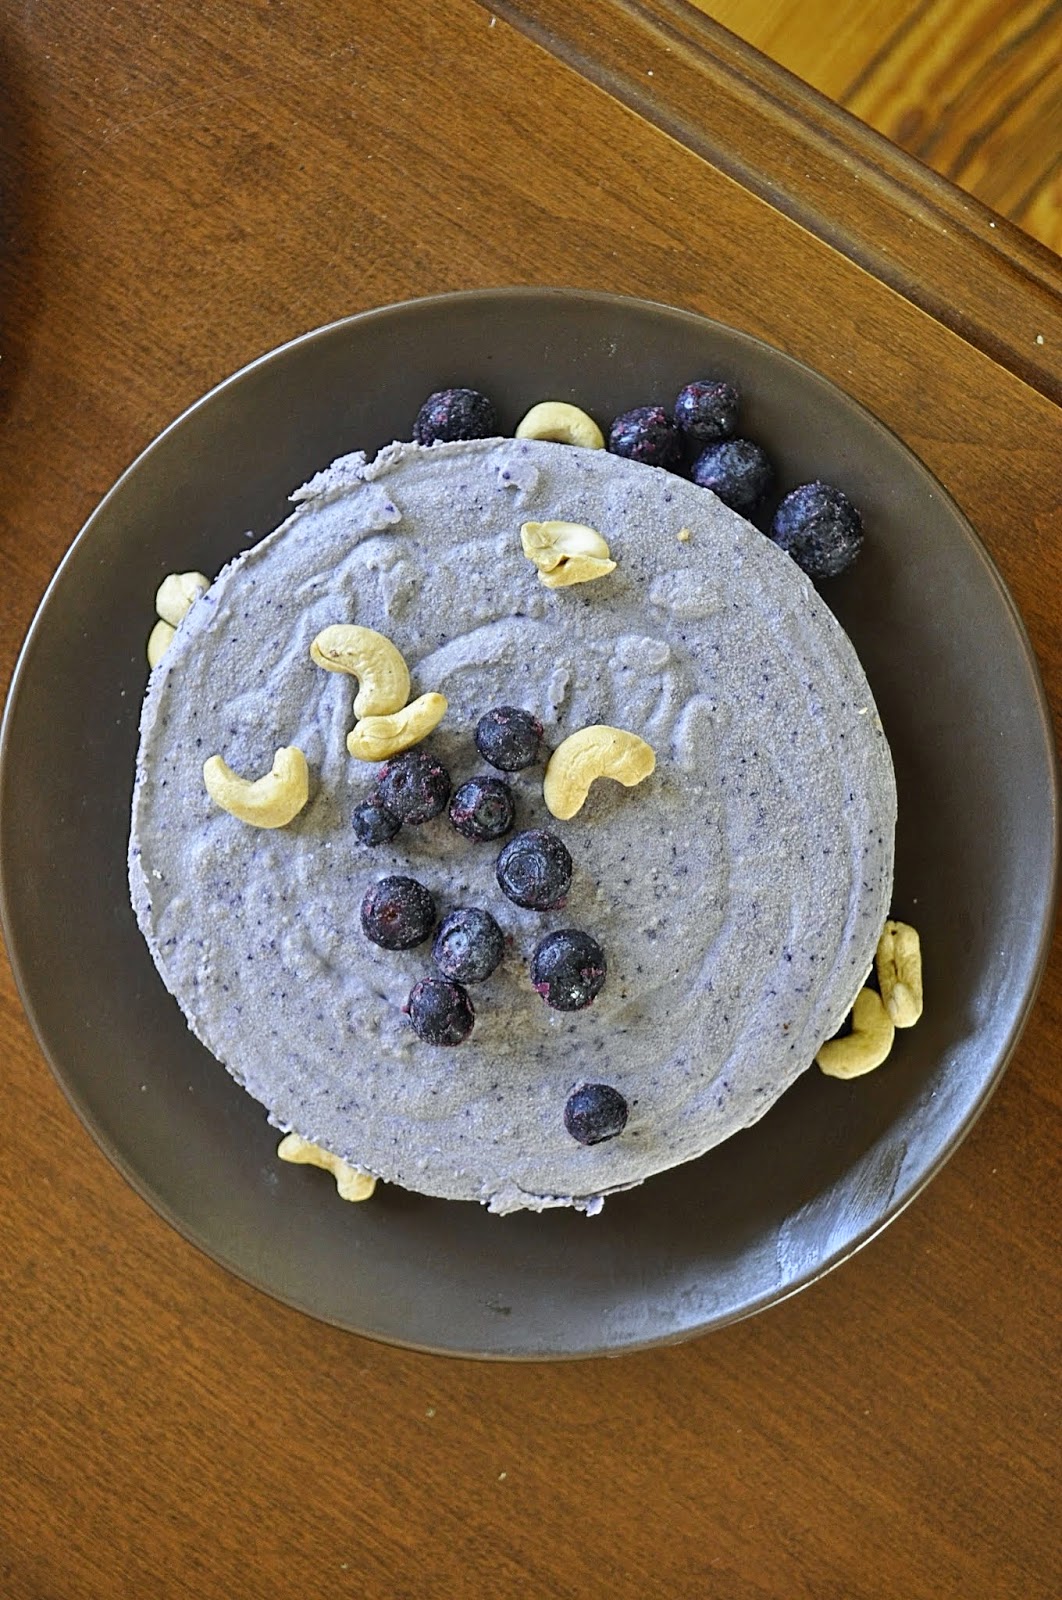
Vegan No Bake Blueberry Lemon Cheesecake

Oh look cake. I do like cake an awful lot.
 Baby size pieces of cake. Less guilt.
 Berries and nuts. Yes, all good things to eat.
 No need to pretend it's healthy. It's yummy, which is waaaay more important.
 This cake is crying for summer; just like me. 
 Mini cheesecake. How stinkin' cute!
 Don't mind if I take a bite or two.
 Who can say no to a purple dessert? 
 Just the right size for a treat.
Come on over, I have a whole cake to share. 
Vegan No Bake Blueberry Lemon Cheesecake
Ingredients:
  1. 1 cup walnuts 
  2. 1/2 cup cashews
  3. 1/2 cup pitted dates (soak them for 15 min in warm water prior to use)
Filling:
  1. 1  1/2 cup cashews (boil water and let the cashews soak for 1 hour in the hot water)
  2. the juice of one lemon (not an obese one mind you)
  3. 6 tbsp melted coconut oil 
  4. 2/3 coconut milk 
  5. 1/4 cup maple syrup 
  6. 1/2 cup frozen blueberries 
Instructions:

  1. Pulse the walnuts and cashews in a food processor until finely ground. 
  2. Chop the dates into small pieces and add to the ground nuts. Pulse until you have a paste. 
  3. Press crust into a 6" cake pan. (I also had enough to make a 2" baby cheesecake to0).
  4. Cover each with a piece of parchment paper and put in the freezer while you work on the filling. 
  5. Pulse together all the wet ingredients including the blueberries. This will all blend nicely. The nuts are trickier, so only put a small handful at a time and allow them to incorporate. Your final product should be a thick-shake-like consistency. Pour the lovely stuff right over your crust. 
  6. Cover with plastic wrap and let the cold of the freezer work its magic for a few hours. (About 4).
  7. You can top with blueberries or whip up some of the left over coconut cream and a few tablespoons of powdered sugar for a lovely whipped cream mound. When serving, give the cake a solid twenty minutes to de-thaw a bit. 

Modified from Call Me Cupcake

Monday, March 23, 2015

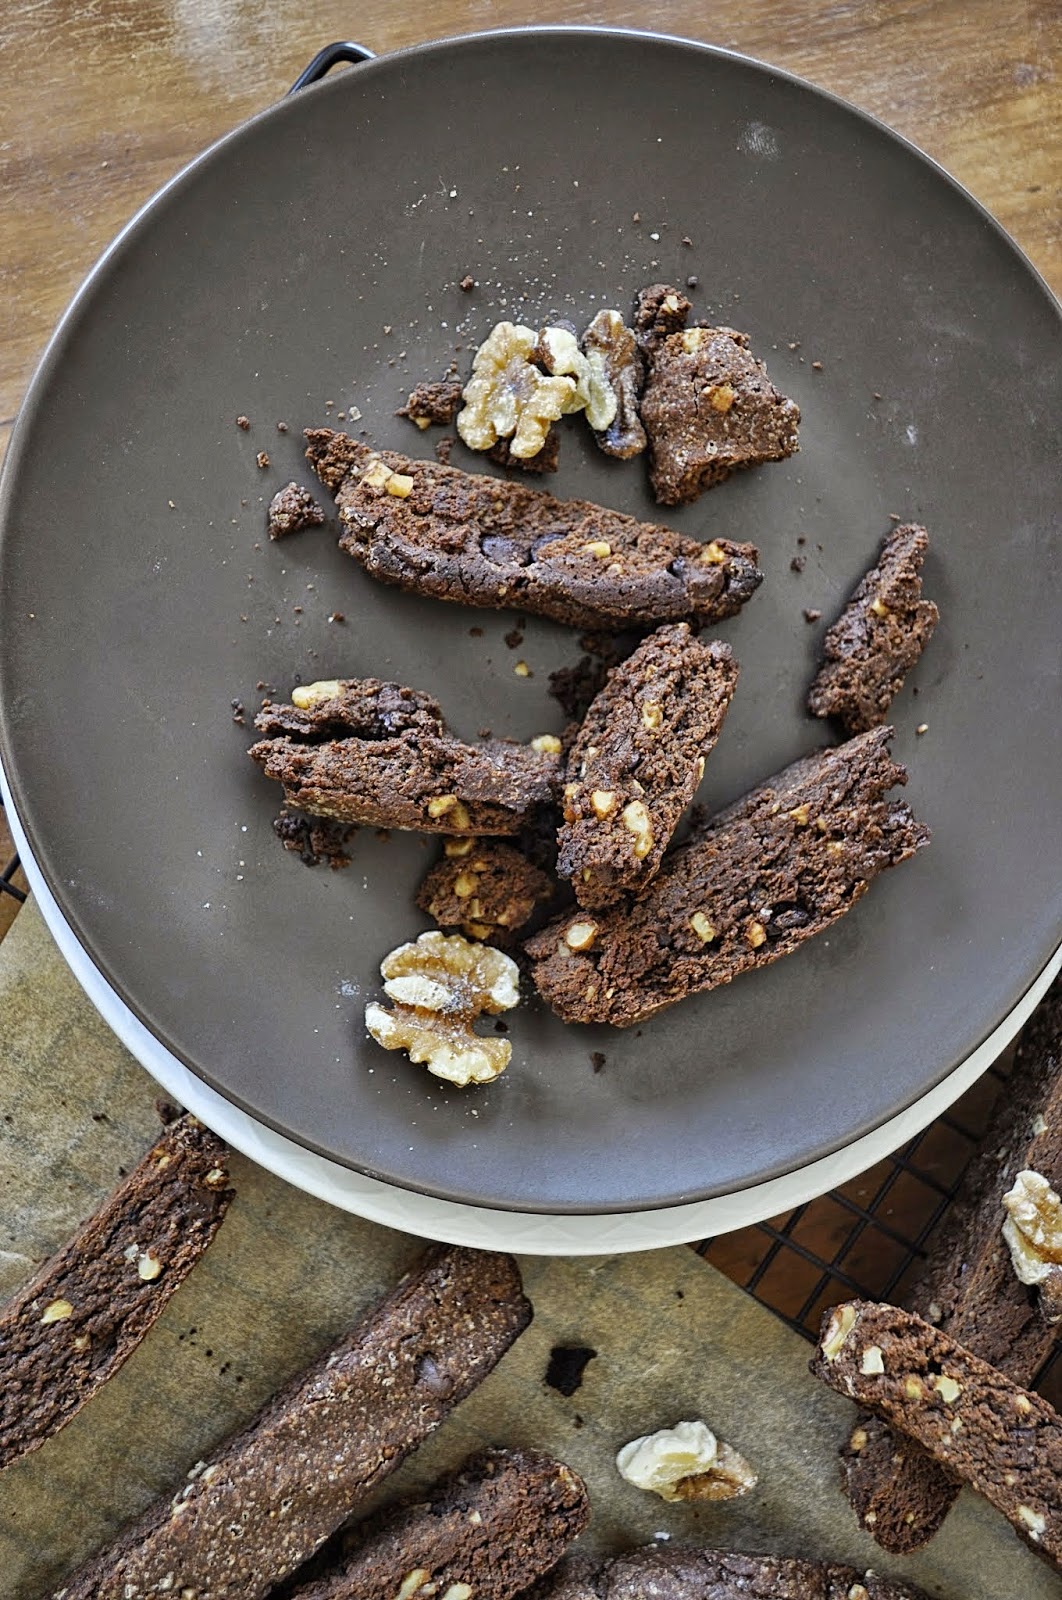
Pistachio & Walnut Chocolate Biscotti

I was most certainly eating off of the plate from all the broken ones. 
 Stack em' high as they go; it's like biscotti jenga.
 This baby is just begging to be dunked in coffee.
 It's a biscotti army. 
 The only good thing about this consistent cold streak outside...hot bevies to keep these treats company.
 Maybe all those pieces really only equal one. At least that's what I tell myself. 
 I would put one walnut down and then I would eat one from the bag.  No regrets. 
 I might have burnt one or two, if my sister Taxia or my father were around, they would call claim to all the burnt ones. 
 Behold, the glory of biscotti. All hail.
 I love me some treats. 
 My friend Katia was visiting and we both definitely enjoyed our after dinner coffee and biscotti party!
Ohhh I just love dessert! 
Pistachio & Walnut Chocolate Biscotti 
Ingredients:
  1. 2 cups pistachio flour
  2. 1 cup all purpose flour (1/4 cup extra if needed)
  3. 3/4 cup cocoa powder
  4. pinch of salt 
  5. 1/2 tsp baking powder
  6. 1 1/4 cup borwn sugar
  7. 3 large eggs
  8. 4 tbsp butter (softened)
  9. 1 tbsp vanilla
  10. 1 tsp espresso powder
  11. 1 cup crushed walnuts
  12. 1/3 cup semi-sweet chocolate chips
Instructions:

  1. Preheat oven to 350 degrees and line a baking sheet with parchment paper or glorious silpats. 
  2. In your trusty kitchen-aid (mine is an ancient gift from someone who realized I would appreciate such a fabulous piece of machinery) beat in one egg at a time on a slow speed, like three.
  3. While the eggs are being beaten, dissolve the espresso powder in the vanilla in a small bowl and add to the eggs. Add the softened butter and continue to beat. 
  4. Whisk all the dry ingredients in a medium size bowl and slowly add it, one large spoonful at a time into the mixer. 
  5. As the mixture firms up add the walnuts and chocolate chips. The dough should be  firm and not overly moist. If it is too wet, add the extra 1/4 cup flour.
  6. Roll the dough into a long log and then flatten into about one inch high and the length of the cookie sheet. You will end up with a rather large oval-ish shape. 
  7. Bake for 30 minutes. Let the log sit on the cookie sheet for 10-15 minutes than transfer the log onto a large cutting board. Slice 3/4"-1" wide slices. 
  8. Put those slices back on the cookie sheet, side down--at this point you will probably need an additional sheet. 
  9. Bake for an addition 7-10 minutes and then flip the biscotti over so the other side bakes as well. Let cool for several minutes and then you really do have one of the best dunking cookies out there. I like mine still slightly soft in the center. If you want solid rocks, bake em' a little longer on each side. 
  10. They store wonderfully for about three weeks in a classy old Christmas cookie tin. You all knowthe kind I'm talking about. One of those tacky numbers you get full of treats during the holidays and than never know what to do with afterwards. Problem solved. You fill it with biscotti and celebrate all year long! 

Saturday, March 21, 2015

Vegan Cinnamon Rolls

 A perfect Saturday morning involves a gooey treat and a good friend over for coffee. 
 Alexis was over my to check out my new apartment. Of course we had to have dessert for breakfast--that icing was kind of over the top good. 
 Brown sugar and an entourage of spices make these sweet babies so flavorful.  (More than just cinnamon means a world of difference.)
 Notice how much we left in the pan...we sure do like our treats!
 Every bite is so deliciously sweet and soft. (I have to brag a little).
Alexis and I made four times the amount of icing originally called for in the recipe by Vegan Richa. Icing should never be skimped on so we just kept making more. 


Vegan Cinnamon Rolls
Ingredients:
  1. 1/2 cup warm almond milk
  2. 1 tbsp sugar
  3. 2 tsp active-dry yeast 

  1. 1 cup almond meal
  2. 1 1/4 cup all purpose flour
  3. 1/2 tsp salt 
  4. 1/2 tsp baking powder
  5. 2 tbsp coconut oil/veggie oil/water
Filling
  1. 1/2 cup brown sugar
  2. 1 tsp cinnamon
  3. 2 tsp cocoa
  4. 1/4 tsp nutmeg
  5. 1/4 tsp ground cloves
  6. 1/2 tsp cardamom 
  7. 1/4 cup semi-sweet chocoalte chips (chopped finely in a food processor)
  8. 1/4 cup butterscotch chips (chopped finely in a food processor)
Icing
  1. 1 cup powdered sugar 
  2. 1 1/2 tsp expresso powder dissolved in 1 tsp vanilla
  3. 1 tsp almond milk
  4. 2 tbsp maple syrup 
Instructions:

  1. Preheat oven to 200 degrees. When the oven preheats, turn it off.
  2. Mix in 1 tbsp sugar with warmed almond milk. Add yeast and allow to foam for a minute or two. 
  3. Meanwhile whisk together almond meal, flour, baking powder, and salt in a medium bowl. 
  4. Add the almond milk mixture into the dry ingredients. Mix together with a rubber spatula and then use your hands until you have a thick dough. If you need to add a little more flour to knead the dough a bit that's fine, but don't go crazy. The dough can be a bit sticky.
  5. Roll the dough onto a lightly floured surface into as much of a square as you can get. (Mine is always a terrible square-wannabe. AND they still come out amazing so clearly it's not a big deal.) 
  6. This is where you use your coconut oil/vegetable oil/water. If you want essence of coconut, guess what ingredient you use. If you don't want that flavor use the oil, or seriously just dip a pastry brush in water and cover the top of the dough. I use water more often than not. Nobody will ever guess it's that easy. Why? Because the spice party that is about to happen cancels out anything else. 
  7. Put all spices together in a small bowl with chocolate and butterscotch chips. Mix together until well combined.
  8. Spread out this delectable blend all over your dough evenly.
  9. Roll up dough into a log. Cut into 1 1/2'' thick slices. Cover a 10" cake pan with parchment paper or even aluminum foil works (not as sturdy but hey, you don't have the wash the pan after, so we all win on this one). and allow to sit in preheated oven for 20 minutes to rise. 
  10. Turn oven up to 375 degrees and bake for 20 minutes. 
  11. While these treats bake start making your icing. Mix all the wet ingredients together first and slowly add the powdered sugar until you have a thick paste.
  12. The icing should be thicker rather than thin since you put it on hot cinnamon buns. If you need to add a bit more powdered sugar to get that result go for it. 
Modified from Vegan Richa

Saturday, March 14, 2015

Skillet Focaccia

 This wonderful bread is for anyone who loves a chewy dipping bread.
It's perfect to make in a pinch-simply 60 minutes of your time. 
 Just look at the bread in ita natural habitat...waiting to be consumed!
 The saltiness of the this bread beats potato chips any day of the week. 
 It's important to recognize that after using lots of olive oil to make the bread, the next step is to dip the bread into more olive oil.
 Such an easy appetizer to do at a party. 
 Such simple ingredients can make such hearty foods. 
 Rip & Dip! 
 I amaze myself sometimes with the yummy things that my two hands can make. 
Stack em' high; it won't last for long!

Skillet Focaccia: Makes 1 12'' focaccia

Ingredients

1.     3/4 cup warm water
2.    1/2 tsp sugar
3.    1 1/2 tsp active dry yeast 
4.    2 tbsp olive oil
5.    1 1/2-2 cups all-purpose flour 

Seasoning

1. kosher salt 
2. 2-3 large cloves of minced garlic
3. 3 tbsp olive oil

Instructions
1.     Stir warm water and sugar together in a medium size bowl until most or all of the sugar dissolves. Sprinkle yeast on top and let sit until the yeast starts to activate. It will smell lovely and start foaming. 
2.    Add in 1 1/2 cup of the flour to start with the salt and olive oil.
3.    Preheat the oven to 200 degrees. When it's ready, turn it off. 
4.    Knead the dough until it's still pliable but no longer super sticky. 
5.    Grease your skillet well with olive oil. I would say enough oil to coat the pan and the dough on both sides. I used my 12" Lodge baby. it truly is one of my favorite kitchen tools. I hope I have it when I turn 100. 
6.    Roll out your dough on the counter in as much or a circle as you can manage. Once you have a "rough circle" (mine was definitely not picture worthy), place it in the pan and stretch with your fingers until the dough reaches the sides. I used a small drinking glass to help roll it out in the pan. 
7.    Flip the dough over so both sides are adequately oiled. Do not skimp on your olive oil! (My father would be proud of me for saying that).
8.    Cover with a dish towel and place the skillet in the oven for 20 minutes to rise.
9.    While the dough is rising, sauté the 3 tablespoons of olive oil with the fresh garlic. (I didn't do this, but if your feeling adventurous, why not throw in a sweet onion too? Delicious!!)
10. Take the skillet out and raise the heat to 400 degrees.
11.  Brush the dough with the oil/garlic sauce. Use it all. 
12. Using your fingers make indentations in the dough-- as if you're Beethoven slamming on those ivories in his 5th symphony.
13. Sprinkle kosher salt generously over the dough. It should be salty. 
14. Bake for 20 minutes. I ended up having to bake it another 3 but every oven is different. 
15. The bread when done should slide ride out of the pan easily. Cut and serve. 

Recipe modified from Crunchycreamysweet

Wednesday, March 11, 2015

Sautéed Broccoli for One

 This is my go to meal when I want something simple but delicious.
 You can't tell me this doesn't look absolutely wonderful.
 Sitting in a pan just. out. of. reach. 
 Broccoli has never looked this good until now. 
 Perfect serving for just one. All mine, mine, mine. 
 I definitely was eating as I was taking photos. No shame.  
 From raw to cooked in just a few minutes. My roommates were super jealous. (I did not share.) 
Oh yes. Nothing is better than sneaking in the greens to your diet, and loving every mouthful.
Ingredients
  1. 1/2 crown of chopped broccoli (I use the stem, and I cut all the broccoli into small pieces)
  2. 1/2 sweet vadalia onion, chopped
  3. 1 large clove garlic
  4. salt & pepper to taste
Instructions
  1. Coat bottom of 8" cast iron pan with enough olive oil to cover the bottom of the pan thinly.
  2. Over medium heat allow chopped onions to cook. Stir every once in a while with a wooden spoon. 
  3. When onions have started to soften add chopped broccoli.
  4. Use a garlic press and crush your clove of garlic into the pan. 
  5. Stir occasionally so the broccoli and onions don't stick to the pan. 
  6. When the broccoli is soft and breaks when you apply pressure with a fork, it's done. The onions will have completely softened and have taken on a brown crispy tint. They will be so sweet and divine. 
  7. I always add salt and pepper to taste at the very end. No need to keep overloading your food with it before hand. The olive oil and garlic give plenty of flavor before salt and pepper come into play.